

You have the whitening strips ready, the mirror is giving full beauty-lab lighting, and now there is one oddly specific question standing between you and the actual whitening: how dry are your teeth supposed to be?
If you’re wondering how to dry teeth before whitening strips, the answer is much less dramatic than the question sounds. Lightly blot the front surfaces of your teeth with a clean, dry tissue, keep your lips apart for a few seconds, then apply the strips right away. The goal is better grip, not turning your mouth into the Sahara.
Here at SNOW, we’re big on small routine details that make the whole process easier. This guide covers the 30-second method, how dry is actually dry enough, what can undo your prep, and how the step fits different strip routines.
Key Takeaways
-
Lightly drying teeth helps whitening strips grip more evenly.
-
Use a clean tissue or paper towel, blot the front teeth, pause, then apply the strips.
-
Dry does not mean moisture-free. Remove the obvious film of saliva where the strip will sit.
-
Normal saliva after placement is expected. Very wet teeth and sliding strips are the bigger concern.
-
Follow your product directions. Drying helps setup, but it does not make whitening gel stronger or justify longer wear.
Should I Dry My Teeth Before Using Teeth Whitening Strips?
Yes, if the product directions allow it, a quick blot before applying whitening strips can make placement easier. It gives the strip a less slippery surface to grip, helping the gel side sit more evenly against your teeth.
Keep it light and brief, focusing only on the surfaces the strips will cover. The goal with drying teeth before whitening strips is a better starting surface, not trying to remove every trace of moisture.
The 30-Second Method: How to Dry Teeth Before Whitening
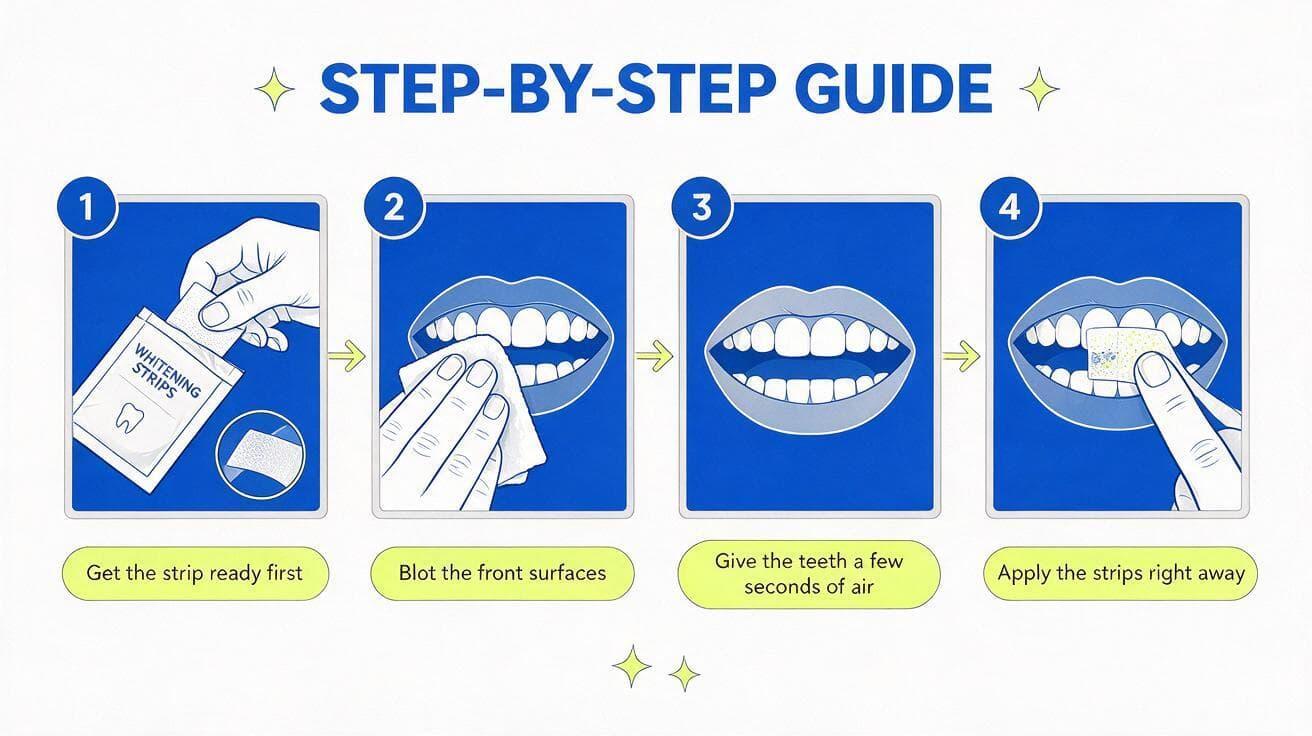
The method itself is simple, but the order matters. Have the strips ready before you start, because the second your teeth are dry, your mouth is already busy making them wet again. No special toolkit. No cotton-roll situation. Just 30 seconds and decent timing.
Step 1: Get the strip ready first
Wash and dry your hands, open the package, and know which strip goes where. You don’t want to blot your teeth perfectly and then spend the next minute fighting with packaging while your mouth quietly resets the whole situation.
Step 2: Blot the front surfaces
Use a clean, dry tissue or paper towel to gently blot the front of the upper and lower teeth that the strips will cover. Press and lift instead of scrubbing. You are removing surface moisture, not polishing the enamel.
Focus on the surfaces the strip needs to grip. Your tongue, cheeks, and entire mouth can stay out of it. Thankfully.
Step 3: Give the teeth a few seconds of air
Keep your lips slightly apart for about five to ten seconds. This gives the freshly blotted surfaces a moment before the strips go on. You can breathe normally. The point is simply not to immediately close your lips over the teeth you just dried.
Step 4: Apply the strips right away
Place the gel side against the teeth and smooth the strip into position according to the product instructions. Try to get even contact across the surface instead of leaving folds or loose edges. Once it is seated, stop fussing with it unless the directions tell you otherwise.
Before you apply, avoid re-wetting the surface you just prepared. Don’t lick your teeth after blotting, and handle the gel side with dry fingers. If the teeth become visibly wet again, blot once more and apply promptly.
For the rest of the application sequence, the whitening strip steps cover placement, wear time, and post-session care.
How Dry Is Dry Enough?
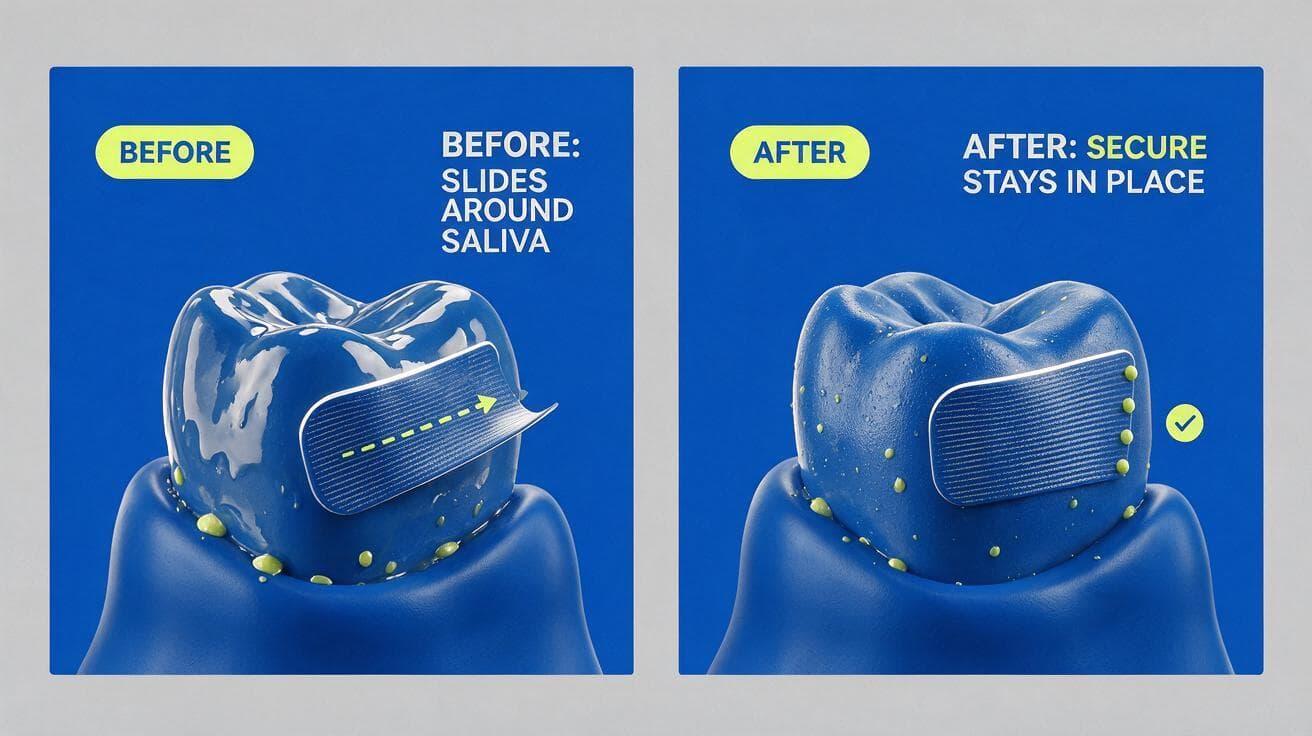
No, your teeth do not need to be completely dry. After that quick blot, the useful check is whether the strip can settle without immediately sliding.
Look for front surfaces that appear less glossy, with no obvious layer of saliva where the strip will sit. If the strip stays in place instead of skating sideways, you have done enough.
If the surface gets visibly wet again before application, blot once more. There is no need to chase a moisture-free mouth.
Aggressive drying is unnecessary. Do not rub hard, hold tissue against the teeth for minutes, or invent a blow-dryer technique because the internet has already given us enough bathroom experiments. Gentle wins here.
A Dry Start Makes More Sense With the Right Strip Routine
Once the prep makes sense, format becomes the next choice. A strip routine only works if you repeat it, and a 12-step production before the strip touches a tooth will quickly test that relationship.
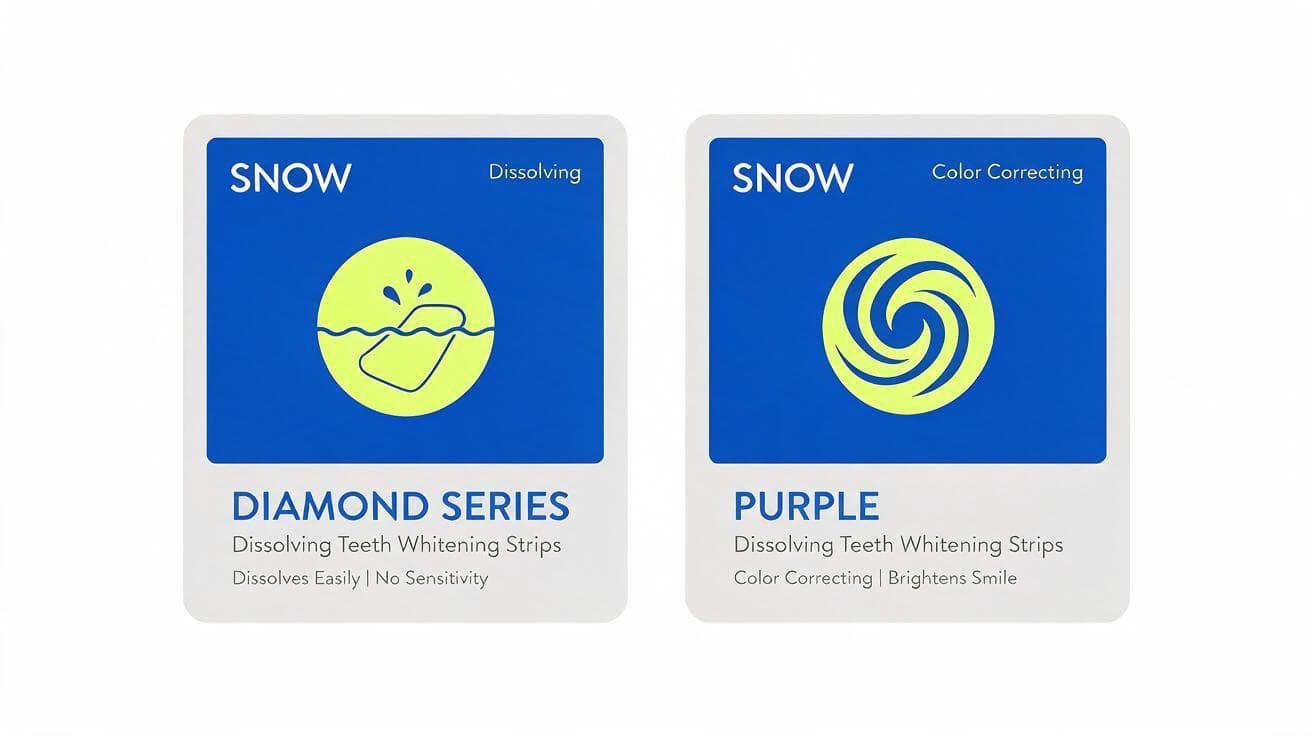
SNOW Diamond Series Dissolving Teeth Whitening Strips
For a simple strip-based routine, SNOW Diamond Series Dissolving Teeth Whitening Strips keep the setup compact: lightly dry the front teeth, apply as directed, and let the dissolving format handle the rest. There is no traditional strip to peel off at the end, which keeps the routine low-fuss from placement through finish.
The same prep rule applies: start with lightly dried teeth and place the strips carefully. Dissolving changes the finish of the routine, not the need for a clean placement at the start.
Choose SNOW Dissolving Whitening Strips
SNOW Purple Dissolving Teeth Whitening Strips
If yellow tones are what you notice first in the mirror or in photos, SNOW Purple Dissolving Teeth Whitening Strips add an optical color-correcting step. Purple pigments can temporarily make yellow tones look brighter, while bleaching and underlying tooth shade are separate questions.
Drying still has the same job here: help the strip sit evenly at application. Same tissue, same 30 seconds, slightly more colorful bathroom counter.
Try SNOW Purple Dissolving Strips
Dry Teeth Help With Contact, Not Stronger Whitening
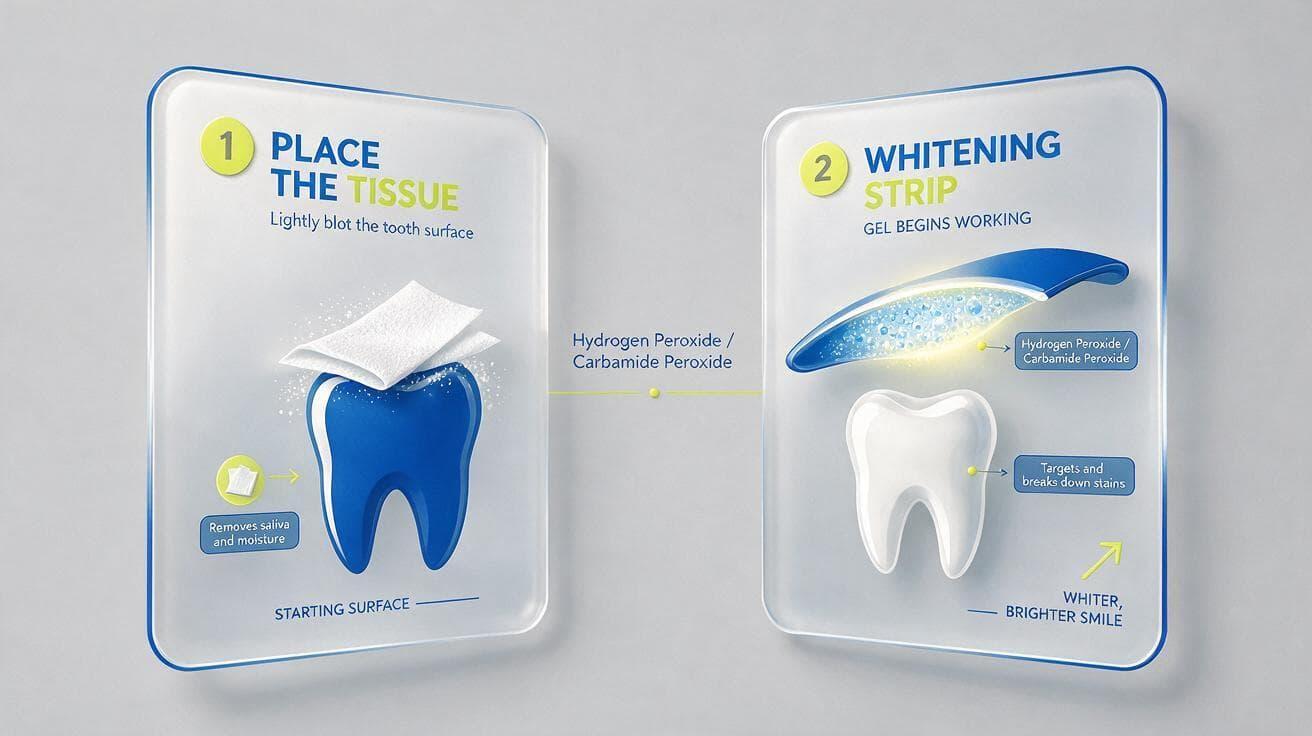
Drying is a placement step, not a way to make whitening ingredients stronger. Whitening strips are coated with a whitening agent such as hydrogen peroxide or carbamide peroxide, and that is how strips work to break down stains on tooth enamel. A tissue only changes the starting surface the strip is placed on.
Research on whitening strips has examined how peroxide penetrates the tooth during contact. That evidence speaks to peroxide delivery during wear, not to whether drying itself increases whitening strength or guarantees better adhesion. A dry start may support contact, but the active ingredients remove surface stains and drive teeth whitening results.
What a dry start can help with is placement. A less slippery surface can make it easier to seat the strip neatly and avoid folds or loose edges at the start of the session.
Solve a placement problem as a placement problem. Do not add more gel, extend application time, or use strips more often to compensate. Follow the manufacturer’s directions to achieve noticeable results. Consistent use is what can lighten teeth several shades, depending on the product directions. More is not a technique fix.
What About Brushing Before Applying Whitening Strips?
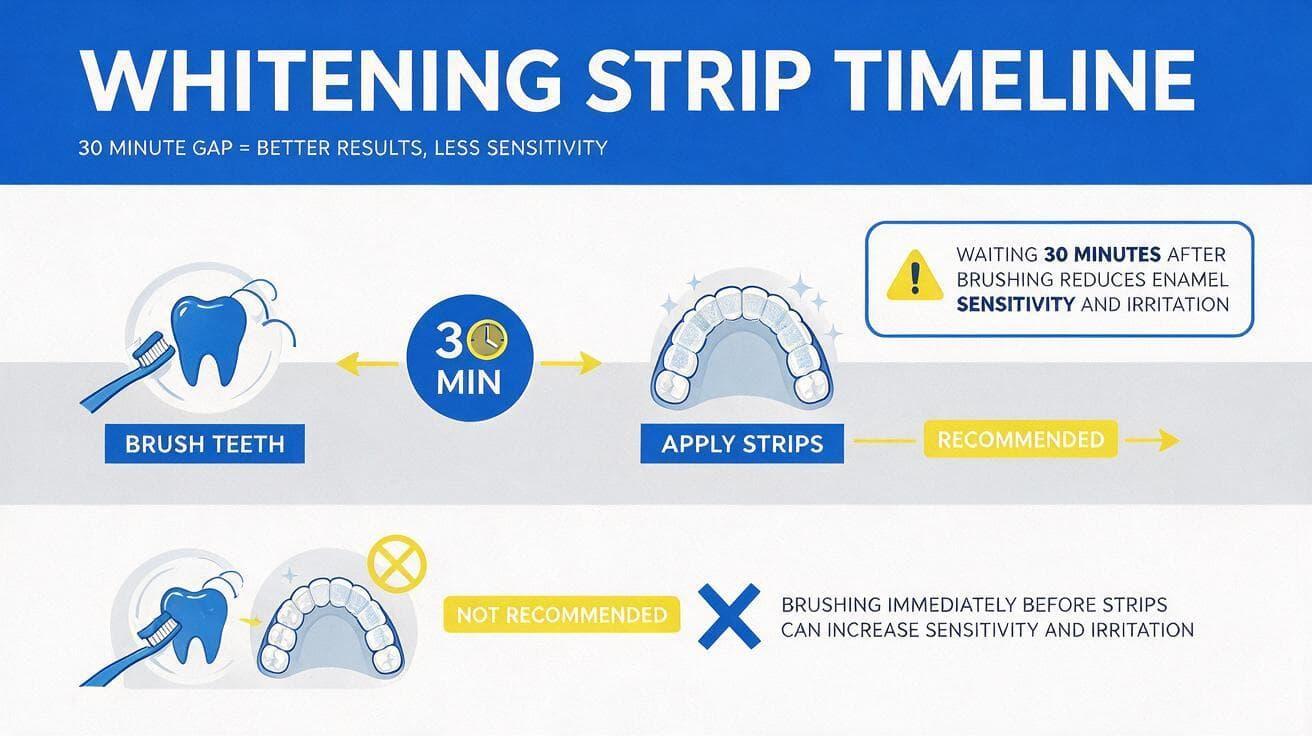
Drying also raises the question of brushing because “clean teeth” and “freshly brushed teeth” are not always the same instruction. Whitening products can have different prep directions, so the product label gets the final say.
Follow the directions for the whitening strips you’re using. When product directions allow, brush your teeth 30 minutes before applying strips rather than immediately beforehand, since using whitening strips right after brushing can increase enamel sensitivity and irritation.
For your normal oral-care routine, brush gently with a soft-bristled toothbrush. If freshly brushed teeth tend to feel more sensitive during whitening, follow the product-specific timing rather than squeezing in another round of brushing right before the strips.
Once the Strips Are On, Saliva Is Allowed Back In
Once the strip is seated, the job changes. The goal was never to keep your mouth dry throughout the whitening process. It was to give the strip a cleaner start.
Once the whitening strips are securely in place, normal saliva during strip wear is expected. It is your mouth doing its baseline job of moistening and protecting oral tissues, not a sign that the whitening process has gone wrong. Swallow normally and follow the product directions.
The useful thing to watch is the strip itself. If it stays in place, normal moisture is not automatically a problem. If it repeatedly slides, folds, or lifts, the initial placement may need work next time.
If the strip slides, folds, or lifts during wear, follow the product directions rather than repeatedly repositioning it or extending the wear time. For the next session, focus on a lightly dried starting surface and careful placement.
When Drying Is Not the Real Problem
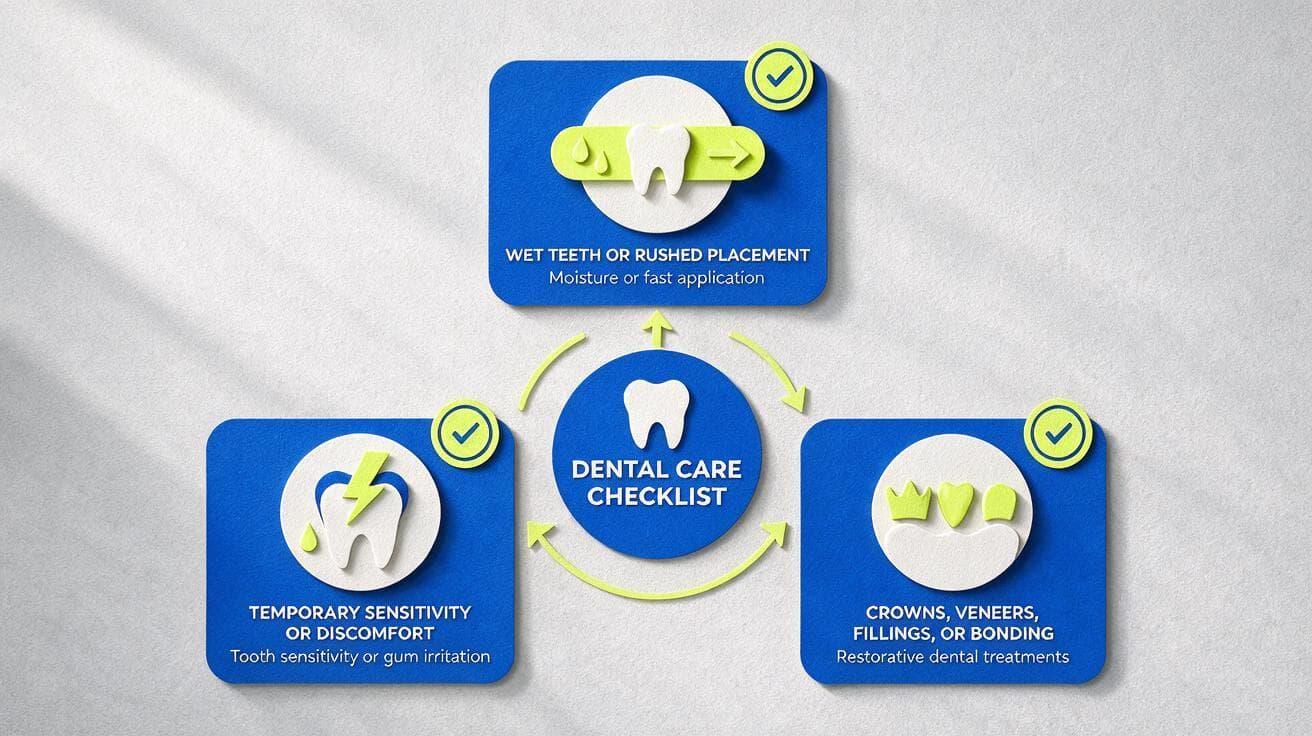
A strip that will not stay put can point to wet teeth or rushed placement, but not every whitening issue is a drying issue. If it keeps moving, check the instructions instead of repeatedly reapplying it.
The same goes for discomfort. Temporary tooth sensitivity and gum irritation can happen with teeth whitening. If you develop significant pain, ongoing discomfort, or sensitivity that concerns you, stop using the product and talk with a dentist.
Drying harder is not the answer. If you have sensitive teeth, the goal is not to push through discomfort for the sake of the best results. After using strips, wait two to three hours before eating. This matters even more before eating staining foods.
And if the color you are trying to change comes from dental restorations such as crowns, veneers, fillings, or bonding, those materials do not whiten like natural teeth. Uneven color in that situation may need a dental professional’s advice rather than a more aggressive at-home whitening routine. Cosmetic dentistry can also change what a realistic whitening result looks like, especially when restorations sit beside natural teeth.
Small Prep, Better Placement
So, how to dry teeth before whitening strips? Blot the front surfaces, give them a few seconds of air, and apply the strips while they’re still dry enough to grip. Thirty seconds. That’s it.
Here at SNOW, we’re all for the tiny steps that make a routine easier. Get the placement right, follow the product instructions, and let the strips take it from there.
No Sahara-level dryness. No bathroom hair dryer. Just a better start for your strips.
Find Your Whitening Routine With SNOW
FAQs About Drying Teeth Before Whitening Strips
A 30-second step can create surprisingly specific questions. Here are the ones worth clearing up.
Can I use a paper towel or toothbrush to dry my teeth?
Use a clean, dry tissue or paper towel. Press and lift instead of rubbing. A toothbrush is for brushing, not blotting, so keep it for your normal oral hygiene routine and use a tissue to lightly dry the front surfaces.
What if my teeth get wet again before I apply the strips?
Blot them again and apply the strips promptly. You have not ruined the session. Saliva returns quickly, which is why it helps to have everything ready before you dry your teeth.
Should I dry my gums too?
No. Focus on the tooth surface where the strip needs to make direct contact, not on the gums or the rest of your mouth. If the strip touches or irritates the gums, adjust placement according to the product instructions rather than drying the tissue.
Will drying my teeth make them look whiter?
Not directly. Drying doesn’t make whitening gel stronger. It simply helps the strip sit more evenly against your teeth. Your whitening results still come down to the product, correct use, and a consistent routine.


